
Published On May 9, 2013
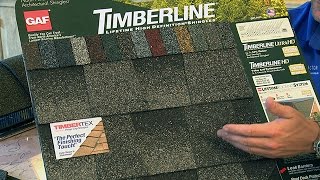
GAF- Mastering The Roof (chapter 11)
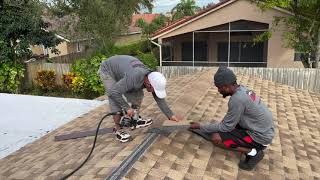
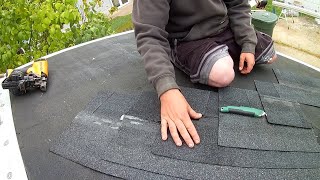
This video demonstrates the proper installation technique for Timberline® Shingles.
Before we go further, I want to make a quick comment about shingle racking.
Racking is the straight up application of shingles, and although some contractors use this method to install 3-Tabs (strips) and even some laminates, this method is not recommended by GAF for any shingle and is not acceptable for any GAF laminated shingle.
Racking often makes color variations more noticeable,
and can lead to shingle damage.
It can also result in missing fasteners, which increases the risk of blow-offs.
Another problem with racking, especially in cold weather, is that when you bend a shingle to slip another shingle under it, you may damage or break the shinlge.
This may not be visible at the time of installation.
VOICE OVER
The first course, after the installation of the starter course, begins with a full shingle laid flush with the starter course at the eave and rake. Move left to right or right to left, but not straight up the roof in a "rack".
Place the shingle so that it is flush with the starter course with the start course over hanging the eave or drip edge by 1/4” to 3/4”.
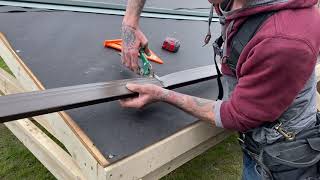
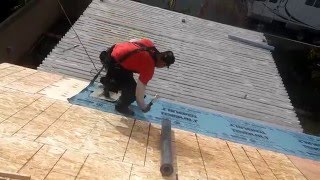
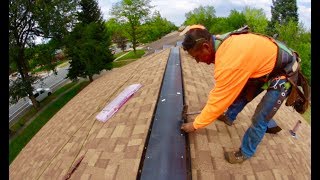
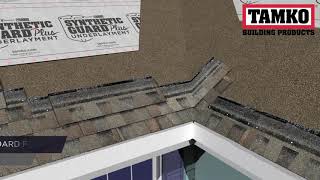
Remember in high wind areas install a leak barrier along the rakes for added protection, and install starter shingles up the rake.
Place the second shingle next to the first. Then continue across the roof. The Timberline series shingles will require four nails unless the local code requires six.
Trim six inches from the first shingle of the second course.
Place the butt of the shingle at the top of the dragon teeth of the underlying shingle.
Full shingles are then placed across the roof to complete the course.
The third course starts with a shingle that has had eleven inches trimmed from the rake edge.
It is placed over the second course with the butt at the top of the saw tooth of the underlying shingle.
For the fourth course trim 17 inches off the shingle.
On the fifth course the pattern starts over with a whole shingle. Install the next course, course 6, the same as course #2, and continue the staggered pattern up the roof.
About every sixth course, strike a chalk line to check parallel alignment with the eaves.
The easiest way to get a clean, straight edge is to snap a chalk line along the overhang you want and cut the shingles to the line.
For three tab shingles, begin by installing a starter course. You should use GAF’s WeatherBlocker or Pro-Start starter strip. Always make sure that you install the starter course with the Dura Grip adhesive strip face up and on the side closest to the eaves to seal this edge. A recommended practice is to stair-step the 3 tab shingles by cutting off one-half tab for each course. This gives you a six course sequence for the 3 tab shingles.
Place the shingle so that it is flush with the starter course over hanging the eave or drip edge by 1/4” to 3/4”.
Use a whole shingle to begin the first course, starting at the rake. In some cases it may be necessary to trim the first shingle so that you don't end up with a sliver of a tab at the opposite rake.