Published On Feb 6, 2024
►► Get Your Scrappy Quilt Block PDF "Embracing Our Scraps" →
https://www.joyfulandmerryquilting.co...
►► Get Your Free Scrapbusting PDF Guide →
https://www.joyfulandmerryquilting.co...
►► 5 Essential Tips for How to Create the Perfect Quilt Block Every Time - Free Workshop →
https://www.joyfulandmerryquilting.co...
Olfa Perforation Cutter: https://amzn.to/3OxkNdi
Creative Grids Ruler 2.5" x 12.5": https://amzn.to/46BCjVs
Creative Grids Ruler 6.5" x 6.5": https://amzn.to/3NuBnJC
Clover Extra Fine Patchwork 2507 Pins: https://amzn.to/44aK1Uz
Dritz 3010 Flat Flower Pins, 2-Inch: https://amzn.to/3MpYB32
Oliso M2 Mini Iron: https://amzn.to/3LluV7A
Rowenta Iron: https://amzn.to/3WuZKuX
Washable Glue Stick: https://amzn.to/3NZcdUS
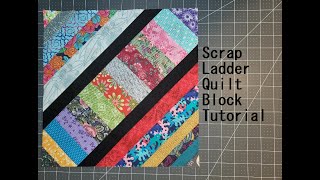
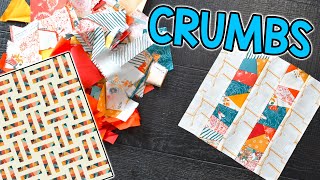
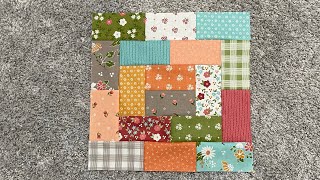
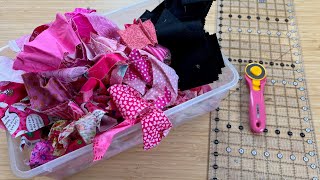
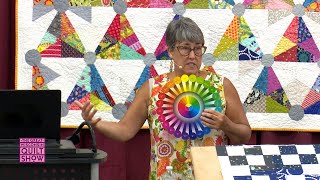
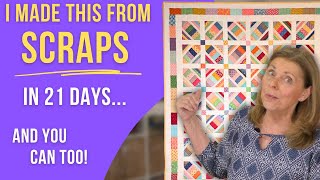
In this tutorial, I'll walk you through the exciting process of creating a gorgeous foundation pieced "Embracing Our Scraps" quilt block. This project is part of our 21-Day Challenge, where I've been sharing daily updates on my progress. Learn how to prepare your fabric scraps using our scrap-busting tutorial, and dive into the art of foundation piecing to assemble the block. I'll introduce you to essential tools like the Olfa perforating blade and show you how a glue stick can be a game-changer for precision. Follow along as I guide you through trimming the block with a 6.5-inch ruler. Whether you're a seasoned quilter or a beginner, join me on this creative journey to turn your fabric scraps into a masterpiece. Visit joyfulandmerryquilting.com for extra resources and the scrap-busting tutorial. Let's quilt together and embrace the joy of crafting!
Note: Joyful and Merry Quilting often uses affiliate links to recommended products, and may receive minimal sums when you purchase through these links, at NO additional cost to you. You are in no way obligated to use these links. Thank you for your support!
Chapters:
00:00 Foundation Pieced Scrappy Block - Tools Needed
03:34 Perforation and Starting With Piece A1
07:13 A Key Ironing Step
08:24 Piece A3
09:36 Piece A4
10:22 Pieces A5 and A6
11:54 Pieces A7 and A8
14:33 Pieces A9 and A10
16:10 Final Quadrant Before Trimming
17:34 Trimming
18:48 Removing the Paper
Hi, I'm Mary! If you've signed up for my free mini quilting course or ANY of my workshops at joyfulandmerryquilting.com, you know the level of detail my videos go into to give step-by-step quilting help. Quilt along with me, learn the best quilting tips, and essentially join an in-depth quilting class with me as your instructor! I'm here to help you improve your skills as a quilter as best as I can. Comment with any questions you'd like answered, and thanks so much for watching our quilting videos this week.