
Published On Oct 30, 2023
Check out how to insert and use images on your TI-Nspire CX II family graphing calculator.
In this tutorial, you'll get details on:
• Inserting an image using TI-Nspire computer software.
• Calculating the zoom factor on the TI-Nspire CX II graphing calculator.
• Moving the cartesian plane on the TI-Nspire CX II graphing calculator.
• Changing axes colors on the TI-Nspire CX II graphing calculator.
• Model the arch and shapes on the TI-Nspire CX II graphing calculator.
• Use the polygon tool on the TI-Nspire CX II graphing calculator.
• And more!
For additional TI-Nspire CX II tutorials, visit https://education.ti.com/tutorials.
Chapters
00:00 Intro
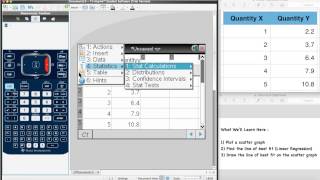
00:10 Insert an Image in the TI-Nspire Computer Software
00:46 Calculate the Zoom Factor on the TI-Nspire CX II Graphing Calculator
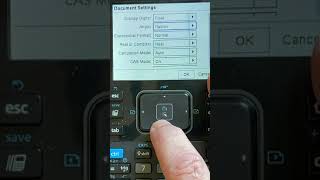
01:09 Adjust the Window Settings on the TI-Nspire CX II Graphing Calculator
01:49 Move the Cartesian Plane Down on the TI-Nspire CX II Graphing Calculator
02:36 Change the Color of the Axes on the TI-Nspire CX II Graphing Calculator
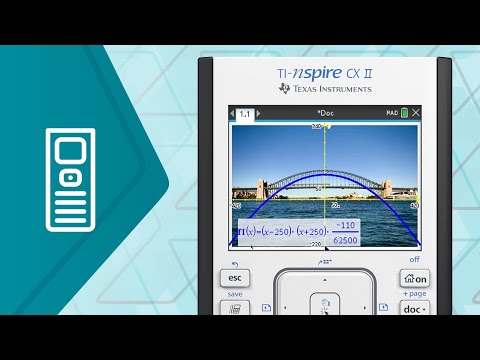
02:55 Model the Arch With an Equation on the TI-Nspire CX II Graphing Calculator
03:53 Model Shapes in the Geometry App on the TI-Nspire CX II Graphing Calculator
04:11 Adjust the Scale on the TI-Nspire CX II Graphing Calculator
05:19 Use the Polygon Tool for the Outline on the TI-Nspire CX II Graphing Calculator
06:08 Measure the Area of the Polygon on the TI-Nspire CX II Graphing Calculator